
Today I’ll show you how to resize and optimize images in Photoshop for websites. Images from DSLR cameras can be dozens of megabytes in size (25Mb is not uncommon), which is far too big for displaying on a website. There are many tricks to resizing and optimizing images in Photoshop that I will show you in this guide. I’ll also show you how to convert images to the newer WEBP standard.
Important Note: When editing images, it’s important to never ever edit the original image. Always make a copy of the image or save it in another format like Photoshop PSD. Keep all your original images in a separate folder system, then copy to a working folder to edit.
Contents
- Resize & Optimize Images in Photoshop (JPEG)
- Resize & Optimize Images in Photoshop (WEBP)
- Resize & Optimize Images using WhatsApp (JPEG)
- Conclusion
- Further Reading
Resize & Optimize Images in Photoshop (JPEG)
- Open your image in Photoshop
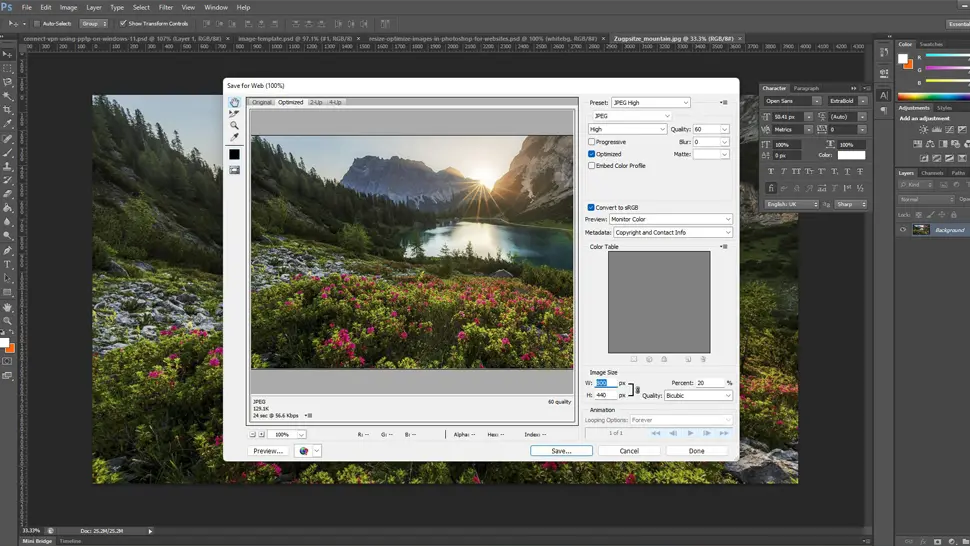
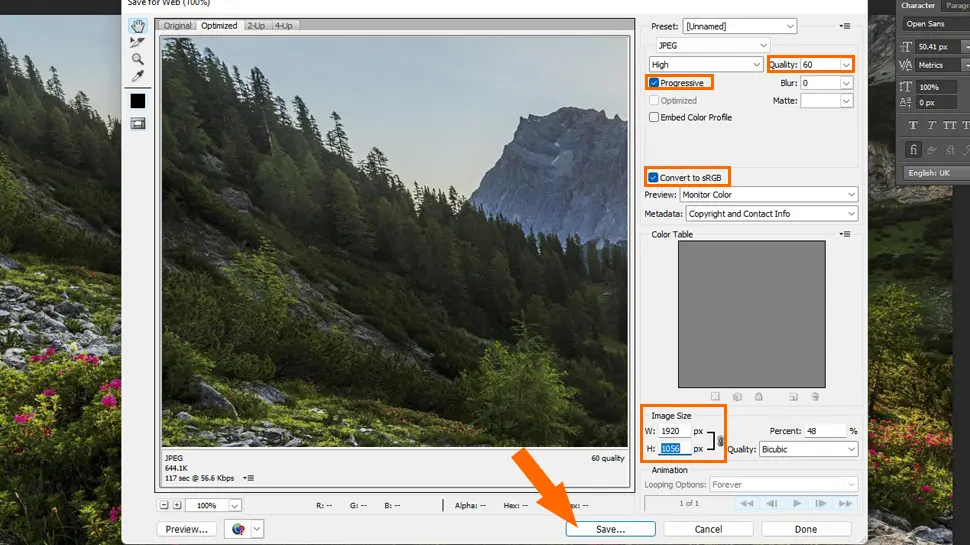
- Go to File -> Save for Web
- I suggest the following settings:
- File Type – JPEG
- Quality – Between 50 and 60
- Progressive – Checked
- Blur – 0
- Embed Color Profile – Optional. Check for high quality artwork or scenery
- Convert to sRGB – Checked
- Image Size – Varies, but maximum would be 1920 wide, 1080 high
- Click Save
Resize & Optimize Images in Photoshop (WEBP)
WEBP is a newer image format developed by Google and features smaller file size and fast delivery over HTTP. Download and install this Photoshop plugin for WEBP, follow the installation instructions, then follow the guide below.
- Open your image in Photoshop
- Go to Image -> Image Size and resize to an acceptable size (usually no more than 1920px wide, or 1080px high)

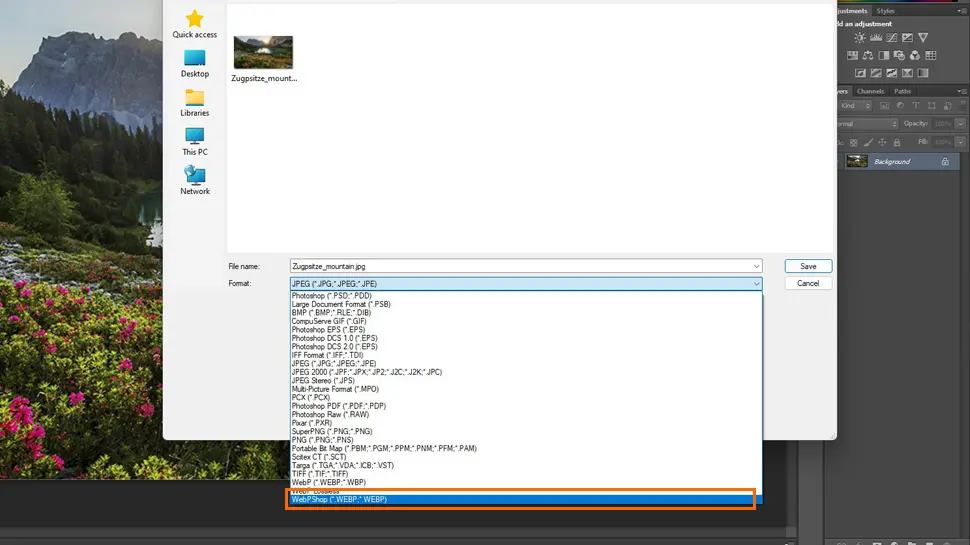
- Go to File -> Save As, then choose
WebPshop .WEBP, and check Save as Copy, then click Save
- Leave everything at defaults except Quality which can be between 60 and 90
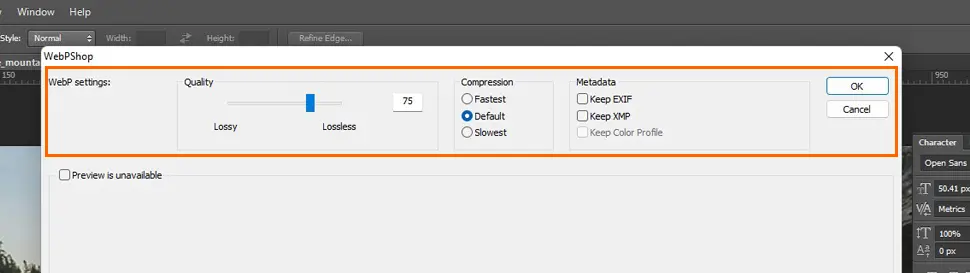
- Click Save
Resize & Optimize Images using WhatsApp (JPEG)
This is a trick for resizing and optimizing batches of images using WhatsApp. To cut down on network data, WhatsApp developed an image resizing and optimization process inside the app, and it just happens to do a perfect job for websites. The only issue is that it completely strips data from the file, and Photoshop CS6 won’t open them (throws an error). So make sure you do any editing in Photoshop before uploading to WhatsApp.
- Start a new group in WhatsApp and invite one person (remember this person will receive all the images, so create a fake account first)
- Open the new group and simply upload images to your group chat
- Once images have been processed, click the first image and use the Download arrow (it may be hiding behind the three vertical dots)
- Upload directly to your website
Conclusion
I hope you learnt some good Photoshop tips today, I especially like the WhatsApp trick which saves me an enormous amount of time. If you had any issues, hit me up in the comments or socials/email.
Comments
There are currently no comments on this article.
Comment