

phpMyAdmin is probably the most widely used database management software. With phpMyAdmin you can edit, create, drop, or alter any aspect of a MySQL database. You can also easily import and export your databases. Today, I’ll show you how to install phpMyAdmin on Ubuntu 22.04 and also further secure it using Apache’s built-in security system .htpasswd.
This article is part of my series The Ultimate Web Server.
Contents
- Prerequisites
- Install phpMyAdmin
- Create a Dedicated phpMyAdmin User (Optional)
- Secure phpMyAdmin (Optional)
- Conclusion
- See Also
- Further Reading
Prerequisites
REQUIRED
- You will need an Ubuntu 22.04 cloud server (DigitalOcean, Vultr or DreamHost) or local server installed and a non-root user with
sudoprivileges. See Initial server setup guide - A LAMP stack installed and set-up on the server. See How to install a LAMP stack on Ubuntu 22.04
RECOMMENDED
- A website setup with Apache Virtual Host
- An SSL certificate installed on your website. MySQL is often the target for hackers, so it’s critical to have a properly set up web server with an SSL certificate.
Install phpMyAdmin
Before we start installing packages, let’s update the package cache:
sudo apt updatephpMyAdmin has certain package dependencies (mbstring, zip, gd, json and curl) so let’s install them with the phpMyAdmin package:
sudo apt install phpmyadmin php-mbstring php-zip php-gd php-json php-curl -yNOTE: You need to press the SPACE bar to select “apache2” otherwise the installer will not install the necessary files. Hit SPACE, TAB then ENTER.
- Select
Yeswhen asked whether to usedbconfig-common - You will then be asked for a phpMyAdmin password
If you received Error 1819, keep reading. Otherwise skip to the next section: Enabling PHP Modules.
If you followed my guide How to install a LAMP stack on Ubuntu 22.04 and chose to enable the Validate Password Component, you may get error 1819 (HY000) when entering the password for phpMyAdmin. If so, you’ll need to temporarily disable this feature. Select abort and OK, then follow these instructions.
Open MySQL:
sudo mysql -uroot -pUninstall the Validate Password Component:
UNINSTALL COMPONENT "file://component_validate_password";Then exit MySQL:
exit;Install phpMyAdmin:
sudo apt install phpmyadminOnce phpMyAdmin has finished installing, enable the Validate Password Component:
INSTALL COMPONENT "file://component_validate_password";Enabling PHP Modules
We need to enable the mbstring PHP module for phpMyAdmin to work:
sudo phpenmod mbstringThe restart Apache/PHP:
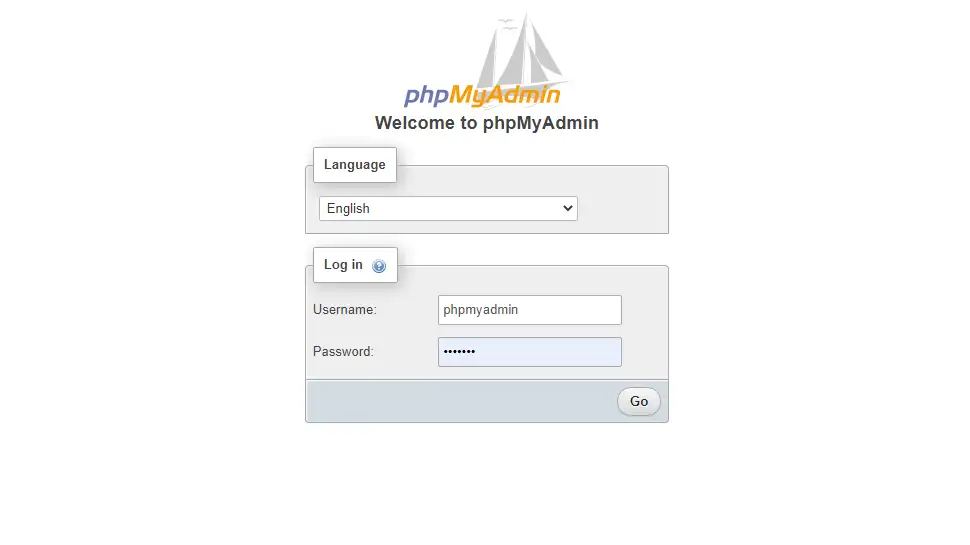
sudo systemctl restart apache2Now head to your web browser and enter the following URL replacing ricbre.com with your domain name:
https://www.ricbre.com/phpmyadminFor username enter phpmyadmin then enter the password you used when installing the phpMyAdmin package:
Create a Dedicated phpMyAdmin User (Optional)
Rather than use the default phpMyAdmin user, you can also create a dedicated user. This step is optional.
Login to MySQL:
mysql -uroot -pCreate the new user (replace richie with your preferred username, and password with a strong password):
CREATE USER 'richie'@'localhost' IDENTIFIED WITH mysql_native_password BY 'password';Grant your new user with all privileges (replace richie with your new username) then flush privileges and exit:
GRANT ALL PRIVILEGES ON *.* TO 'richie'@'localhost' WITH GRANT OPTION;FLUSH PRIVILEGES;exit;Secure phpMyAdmin (Optional)
phpMyAdmin is one of the top targets for hackers due to it’s popularity, so it’s a good idea to further secure it using Apache’s .htaccess and .htpasswd system. This step is optional, but highly recommended.
Open phpMyAdmin’s .conf file:
sudo nano /etc/apache2/conf-available/phpmyadmin.confWe need to add AllowOverride All directive under the DirectoryIndex index.php line:
<Directory /usr/share/phpmyadmin>
    Options SymLinksIfOwnerMatch
    DirectoryIndex index.php
    AllowOverride All
Then save ctrl + o, ENTER and exit nano ctrl + x
Restart Apache:
sudo systemctl restart apache2Next, we create an .htaccess file inside phpMyAdmin’s directory:
sudo nano /usr/share/phpmyadmin/.htaccessThen copy and past the following code inside the file:
AuthType Basic
AuthName "Restricted Files"
AuthUserFile /etc/phpmyadmin/.htpasswd
Require valid-user
Then save ctrl + o, ENTER and exit nano ctrl + x.
Now we create a .htpasswd file to store your password and username (replace username with a new username):
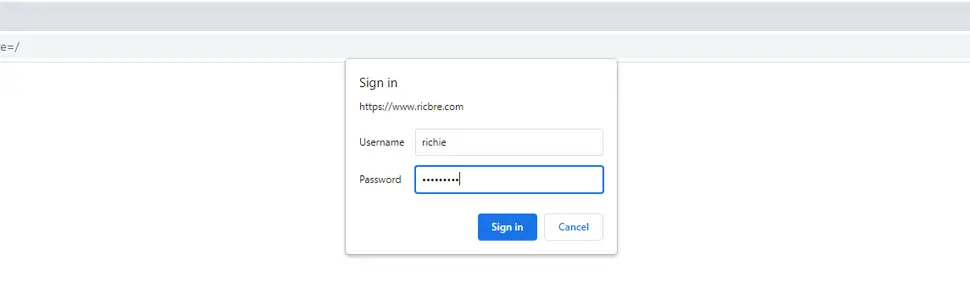
sudo htpasswd -c /etc/phpmyadmin/.htpasswd usernameYou will need to enter a password for your new user. Apache will then create a hashed password inside the .htpasswd file. Then we restart Apache:
sudo systemctl restart apache2Now when you visit phpMyAdmin you’ll be initially asked for your username and password, then you will login to phpMyAdmin with your normal password you created earlier.
Conclusion
I hope everything went smoothly and you now have a secure phpMyAdmin installed to manage all your MySQL databases. If you had any trouble, hit me up in the comments, socials, or email.
See Also
- Initial server set up on Ubuntu 22.04 cloud instance
- How to install LAMP stack on Ubuntu 22.04
- How to configure Apache Virtual Hosts on Ubuntu 22.04
- How to install a free Let’s Encrypt SSL certificate on Ubuntu 22.04 LAMP stack
- How to enable HTTP/2 on Ubuntu 22.04 LAMP stack
- How to secure an Ubuntu 22.04 LAMP Stack
- How to install WordPress on Ubuntu 22.04 LAMP stack
Comments
There are currently no comments on this article.
Comment