
Today I will show you how to connect your Apple MAC to any VPN service using the OpenVPN protocol. OpenVPN is a fast, stable, and secure protocol with most VPN service providers supporting it including IPVanish VPN.
Contents
- Recommended Books
- Prerequisites
- Download & Install Tunnelblick
- Install OVPN Configuration Files & Connect
- Video: Set up OpenVPN on macOS
- Conclusion
- See Also
- Further Reading
Recommended Books
I can highly recommend these books to help you learn more about Apple macOS.
Prerequisites
- You’ll need a VPN service that supports the OpenVPN Protocol like NordVPN, ExpressVPN or IPVanish VPN
- You’ll also need to login to your VPN service provider and find your OpenVPN credentials (username and password)
- The OpenVPN configuration files (
.ovpn/.tblk/.conf) you may need to login to your VPN service provider to access these files, which will usually be in a .zip folder (Download BTGuard config files here).
Download & Install Tunnelblick
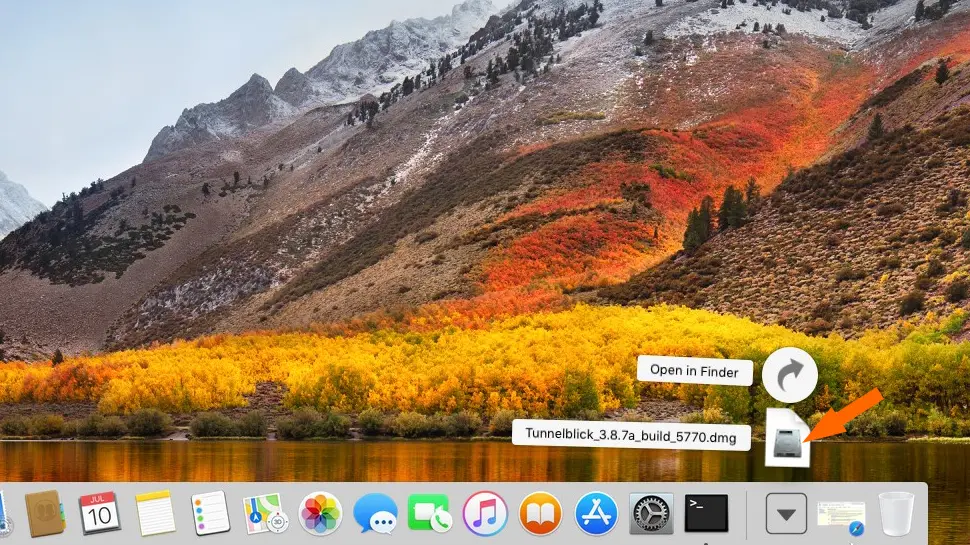
- Download the “Stable” version of Tunnelblick here
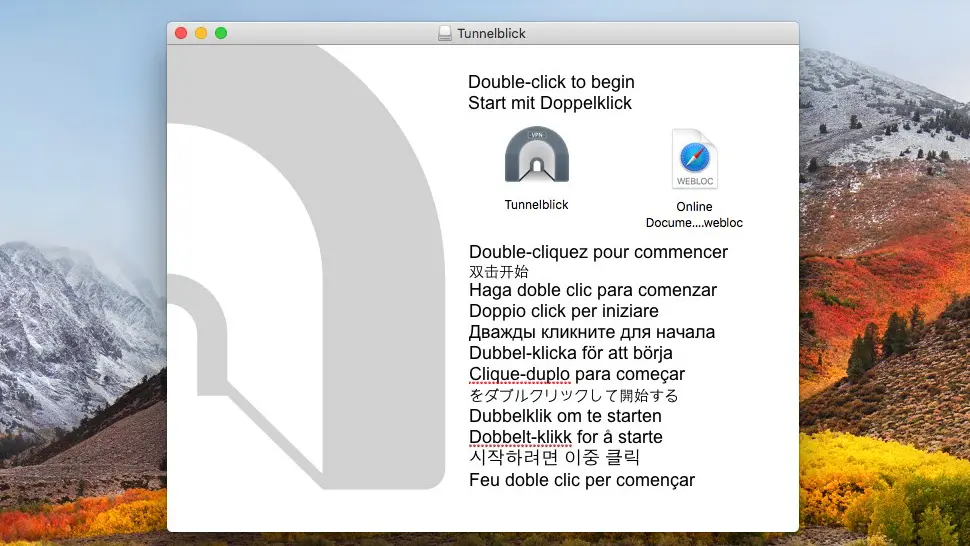
- Double click the Tunnelblick
.dmgfile
- Double click the Tunnelblick Installer icon

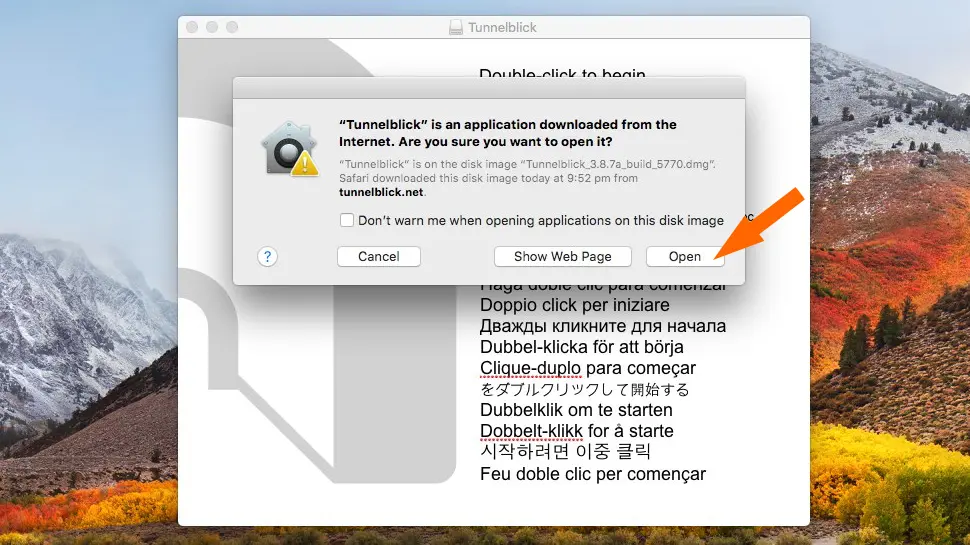
- Click Open
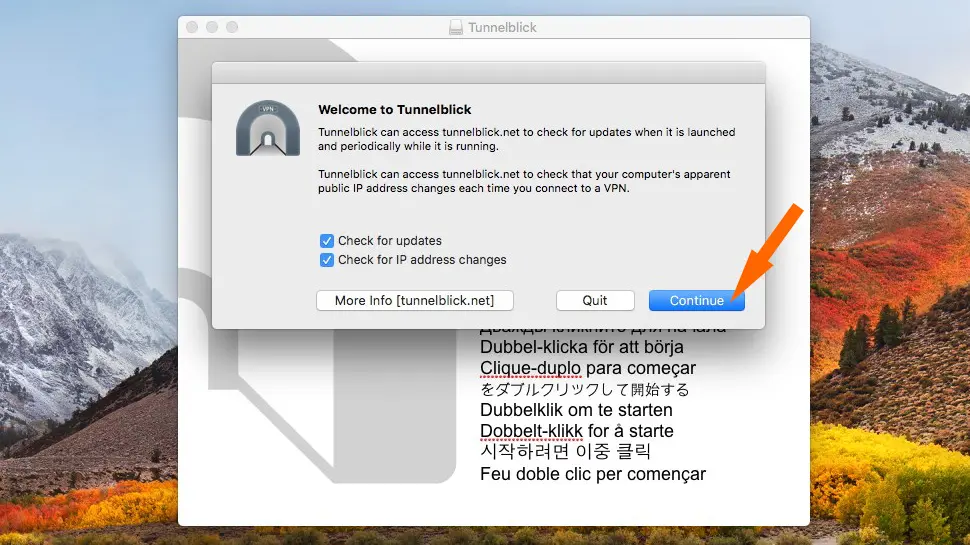
- Leave updates and IP address change options checked and click Continue
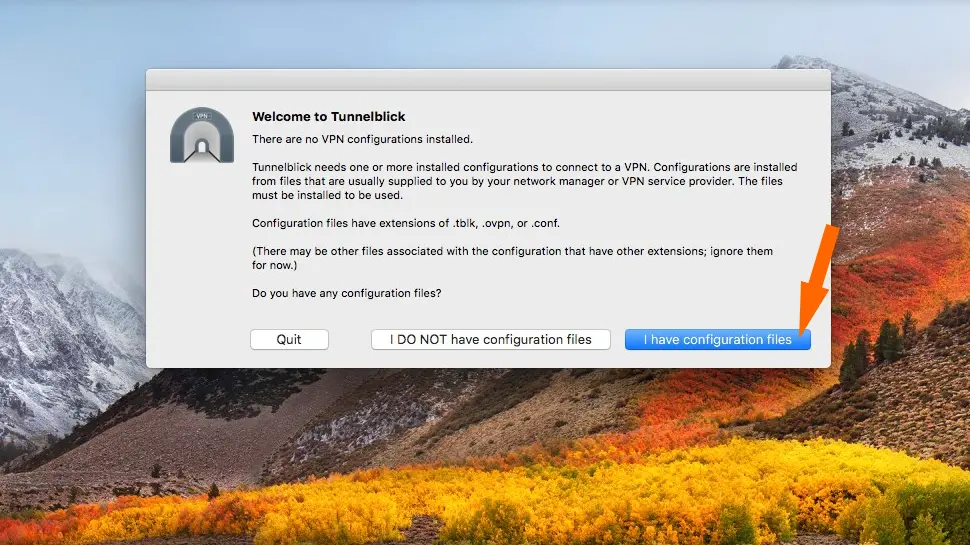
- Click I have configuration files
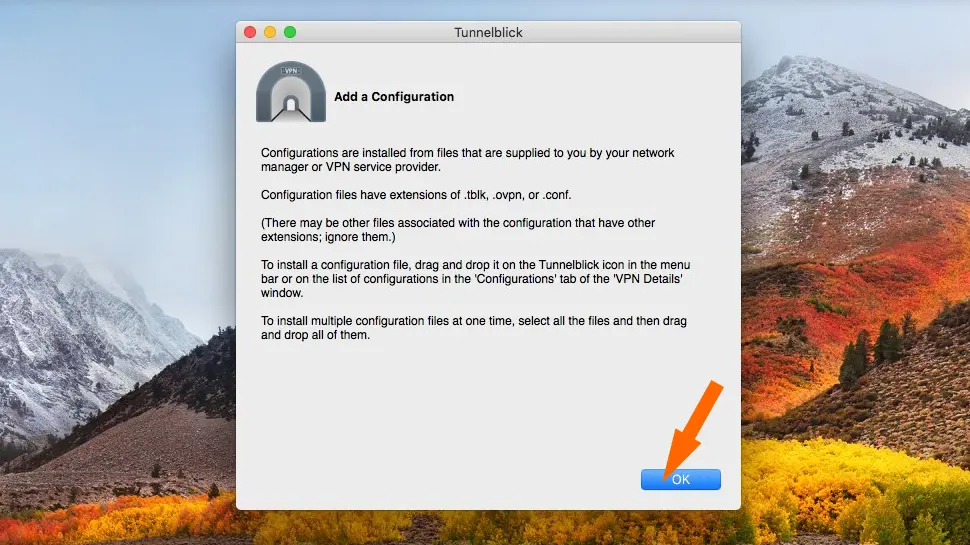
- Click OK
Install OVPN Configuration Files & Connect
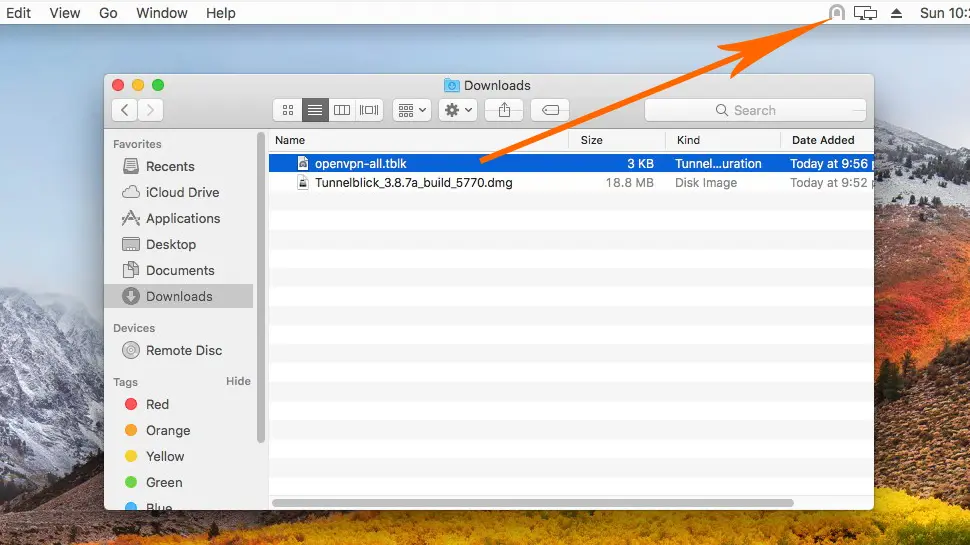
- Locate your OpenVPN configuration files (i.e. Downloads folder) then select and drag onto the Tunnelblick icon top-right of your screen
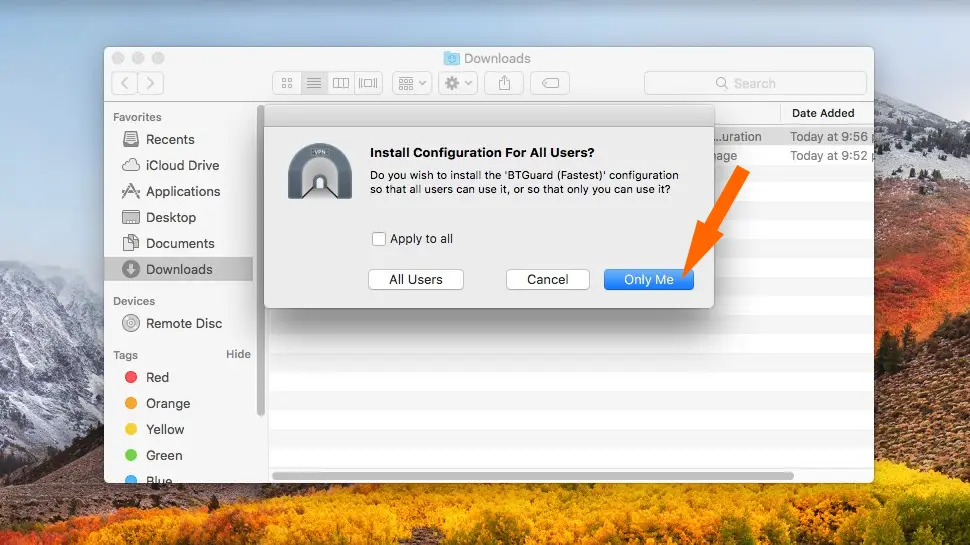
- Click Only Me or All Users depending on your preference
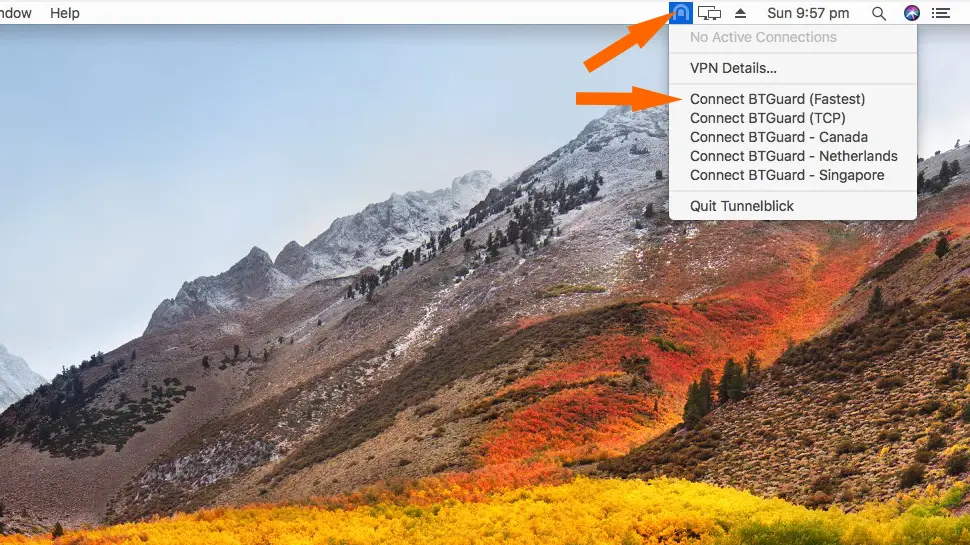
- To connect, click the Tunnelblick icon, then select a server location
- Enter your VPN username and password, and optionally a security code
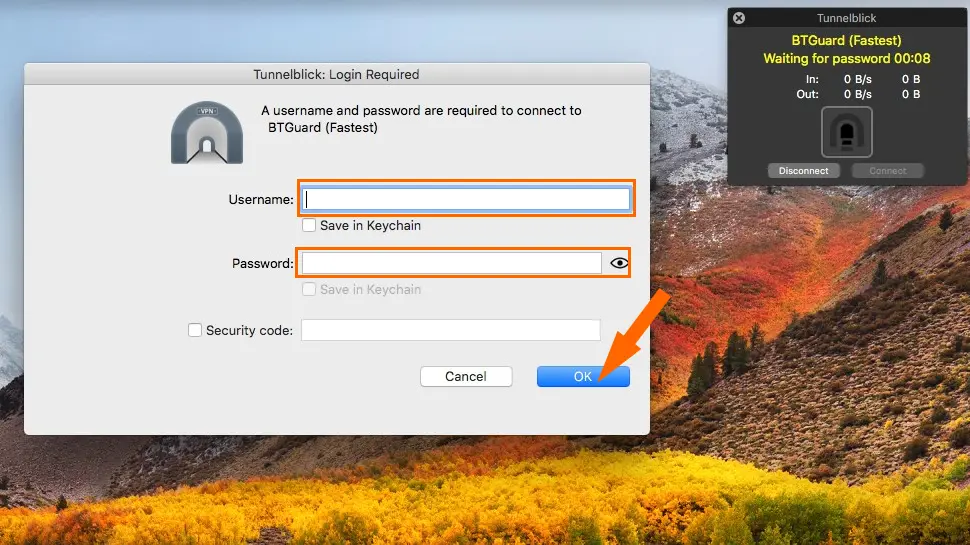
- You should now be connected to your VPN service providers OpenVPN network
Video: Set up OpenVPN on macOS
Conclusion
Hopefully everything went well and you’re now connected using the OpenVPN protocol. If you had any issues, let me know in the comments or socials/email.
Comments
There are currently no comments on this article.
Comment