

Today I will show you how to build your very own compact Mini-ITX Firewall with the excellent (and Open Source) IPFire firewall operating system. You can also use any old PC with an extra Ethernet card, but this guide will focus on the Mini-ITX form factor and parts suitable for it.
Contents
- Motherboard
- Download & Install IPFire
- Configure IPFire
- Login and Configure IPFire
- Conclusion
- See Also
- Further Reading
Motherboard
There are a number of suitable Mini-ITX motherboards on the market, and I’ll give description and links for them. If you’re building from parts other than specified here, just make sure you have a motherboard with dual LAN/Ethernet ports, or a spare slot for an extra NIC card. IPFire requires a minimum of 2 LAN ports to work (Red and Green networks). Other than that, all you need is minimum 1GHz CPU, 1GB RAM and a 4GB hard disk, but definitely use a SATA SSD hard drive for this build.
The first two motherboards I list have built-in CPUs, and are suitable for small to medium sized networks. The third motherboard is a beast suitable for large networks.
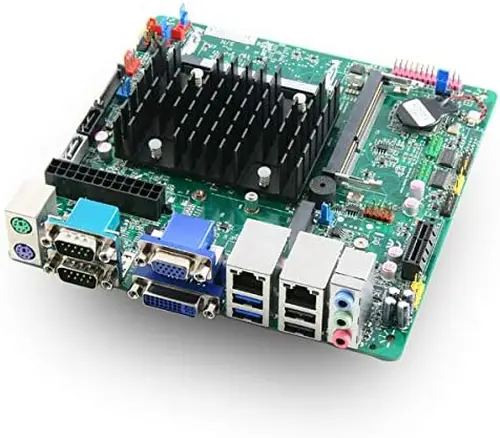
Mitac PD11BI CC
The Mitac PD11BI CC motherboard has a built-in CPU (Celeron J1900), dual LAN ports, and takes DDR3L-1600 SODIMM which is perfect for our firewall. Suitable for small to medium sized networks.
- Intel Celeron J1900 Quad Core Processor, 2 – 2.41 GHz
- Supports 2 x DDR3L 1600 SODIMM RAM, Max 8GB Capacity, 1333MHz Minimum, Low Voltage 1.35V Required
- Supports Dual Display via VGA and DVI-I
- Dual RS232 COM Ports, Dual GbE LAN; PCI-E x1 Expansion, Mini PCI-E (half/full length)
- Mini ITX Form Factor: 170mm x 170mm (6.7” × 6.7”)
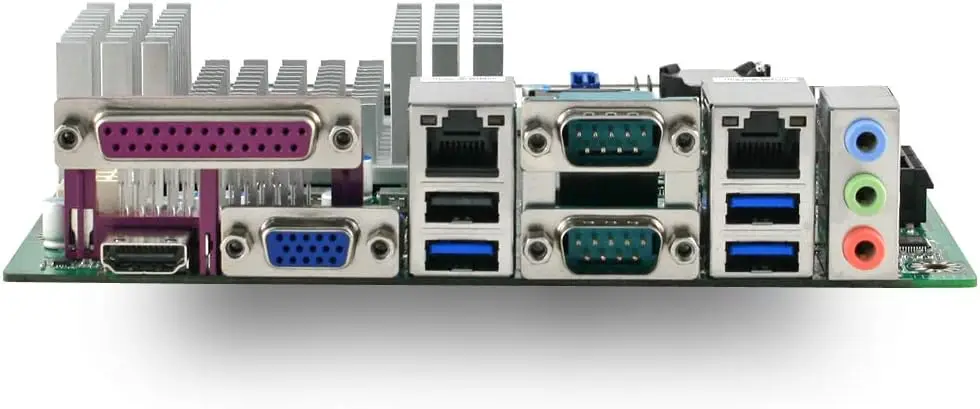
Jetway NF792T2-3160
The Jetway NF792T2-3160 has a built-in Intel Celeron N3160 CPU, Dual LAN, and takes DDR3L 1866 SODIMM laptop RAM. Suitable for small to medium-sized networks.
- Intel Celeron N3160 1.6 – 2.24GHz Quad Core Processor; Intel HD Graphics, 320 – 640 MHz
- Supports 2x DDR3L SODIMM Memory, Maximum 8GB Capacity, 1333MHz Minimum
- Supports 1x SATA 6Gb/s drives and 1x M.2 (M Key, type 2242/2260/2280)
- 2 x Realtek RTL8111H Gigabit Ethernet; On-board Nuvoton TPM 2.0
- Form Factor: Thin Mini-ITX, 170mm x 170mm (6.7” × 6.7”)
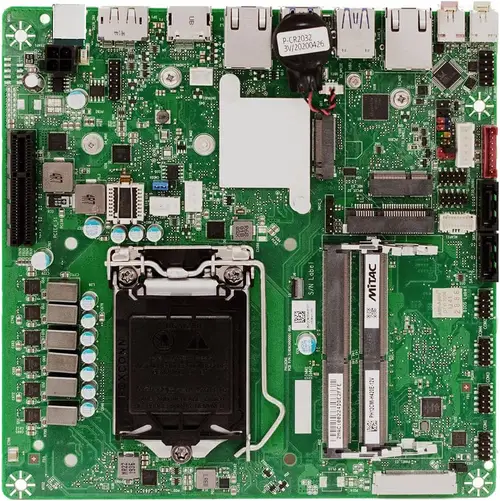
Mitac PH12CMI-Q470E-12V
The Mitac PH12CMI-Q470E-12V takes 10th generation Comet Lake LGA1200 CPU’s and is a Thin Mini ITX Motherboard (very low profile). It has Dual LAN, takes DDR4 SODIMM RAM up to 64GB, and has an PCIe 3.0 M.2 slot for very fast operating system performance. It also runs on 12v DC. Suitable for large networks.
- Supports Intel 10th Gen Comet Lake Processors, LGA1200
- 2 x DDR4 SODIMM slots up to 64GB
- PCI-E 3.0 ×4 slot, M.2 2280 slot, M.2 2230 slot, Mini PCI-E slot
- Dual Intel GbE LAN
- Thin Mini ITX: 6.7” × 6.7”, 12V DC-IN (2.5mm/ID, 5.5mm/OD)
Recommended CPU for Mitac PH12CMI-Q470E-12V

Other Parts
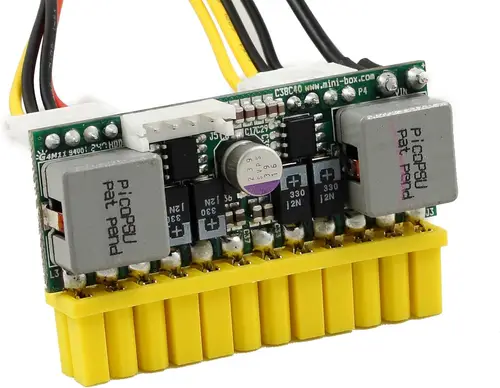
PSU/Power Supply
You’ll need a special PSU/Power supply called a PicoPSU and a minimum 120 watts with a 12v connector. I recommend the Mini Box PicoPSU-150-XT 12V DC-DC ATX power supply
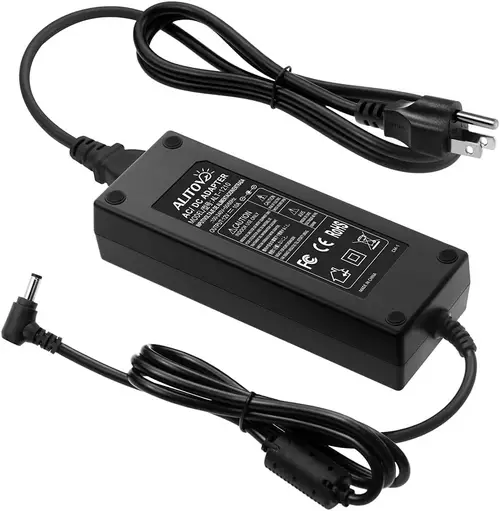
AC/DC Power Adapter
You’ll also need an AC/DC 12v power adapter, minimum 7 Amp, with a 5.5mm connector: Search Amazon
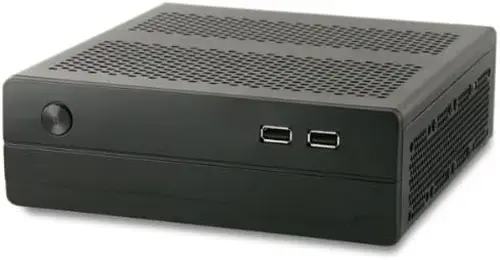
Case
And a good Mini-ITX case like the Morex 557 Universal Mini-ITX Case, Fan-Less, Compact
Download & Install IPFire
After you’ve built your firewall PC, let’s install IPFire. It’s a bit complex for novices, but I will do my best to guide you through it with screenshots and text instructions.
Download IPFire
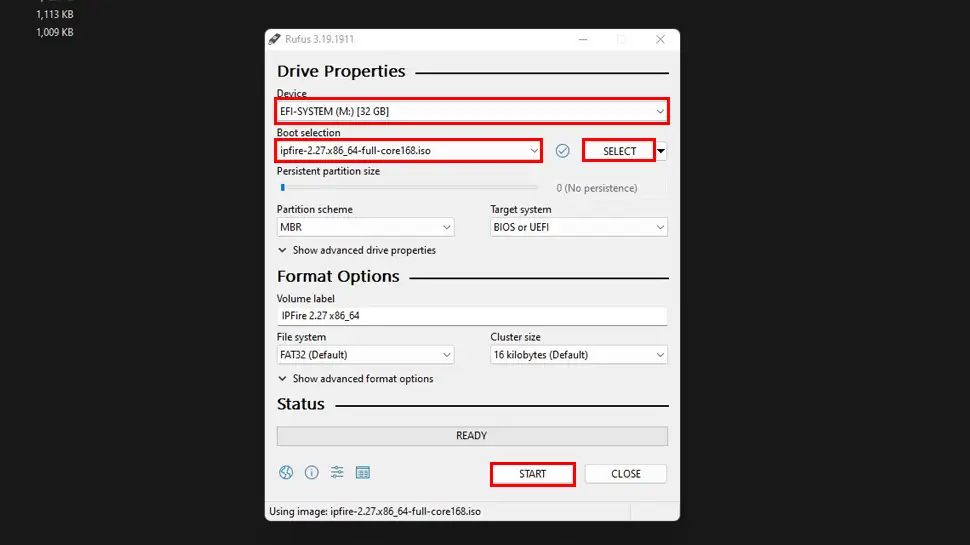
Let’s download the latest version of IPFire and burn to a USB drive
- Download the latest version of IPFire, choose x86_64 ISO
- Download Rufus for flashing to USB
- Insert a USB drive (minimum 4GB) into a USB port on your PC
- Open Rufus and select your USB drive from the list under Device
- Under the Boot Selection heading, click SELECT and choose the IPFire ISO you downloaded earlier
- Leave everything else at defaults and click START
- Rufus will ask “Write in ISO image mode (recommended)” leave this selected and click OK, then Yes to “Download required” prompt
- Click YES/OK to any further warning prompts.
Install IPFire
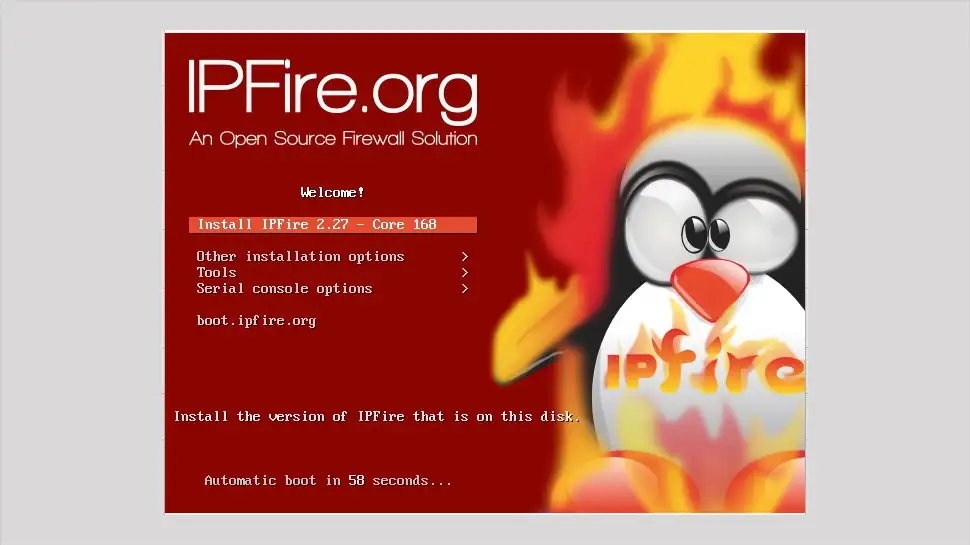
Before installing IPFire, make sure you have a LAN cable running from the IPFire pc and your modem/router (this will be the RED interface), and a cable running to a switch where the rest of your computers/devices will be connecting (this is the GREEN interface). Once that’s done, insert the USB drive and boot up your machine and we’ll run through the screens:
- TIP: Use the TAB key to switch between options and ENTER to select
- You should see the boot screen for IPFire, choose the default option Install IPFire
- Choose your Language then OK
- Press ENTER for the Start installation prompt
- Use TAB to move cursor then SPACE BAR to select I accept this license prompt, then OK
- Select Delete all data then ENTER
- Select ext4 Filesystem, then OK
- IPFire will start installing and should be complete in a few minutes
- Press ENTER to Reboot
Configure IPFire
After IPFire reboots, you will be asked to configure the system. I have given examples that can be used, but if you’re more experienced, you’re welcome to customize.
Basic Configuration
- Choose your language, then select OK (ENTER)
- Scroll up/down to select your time zone, then OK (please don’t skip this step, system time is very important!)
- I suggest leaving hostname to the default
ipfirebut you’re welcome to change. Then OK - You can name your network anything you want, I chose
richome - Enter a strong password for root user, confirm password, then OK
- Enter a strong password for admin user, confirm password, then OK (this user will login to the web interface)
Network configuration type
- Select Network configuration type, then OK
- If you have two LAN ports, make sure GREEN + RED is selected, then OK
Drivers and card assignments
- Select Drivers and card assignments, then OK
- Select GREEN, then TAB to select Identify, then ENTER. Take note of which LAN port is flashing it’s LED on the motherboard I/O, then label this port as GREEN and the other as RED
- TAB to Select and press ENTER
- Select RED then Select to assign the remaining LAN port to the RED interface
Address settings
- Select Address settings, then GREEN. For IP address enter
192.168.1.1and leave Netmask at255.255.255.0, then OK - Select RED, change Static to DHCP, then TAB to OK
- Use TAB and select DONE
DHCP server configuration
- Use SPACE BAR to select Enabled for DHCP server configuration, then enter the following info:
- Start address:
192.168.1.2 - End address:
192.168.1.230 - Leave everything else at defaults and select OK
- Start address:
- Select OK and you’re done.
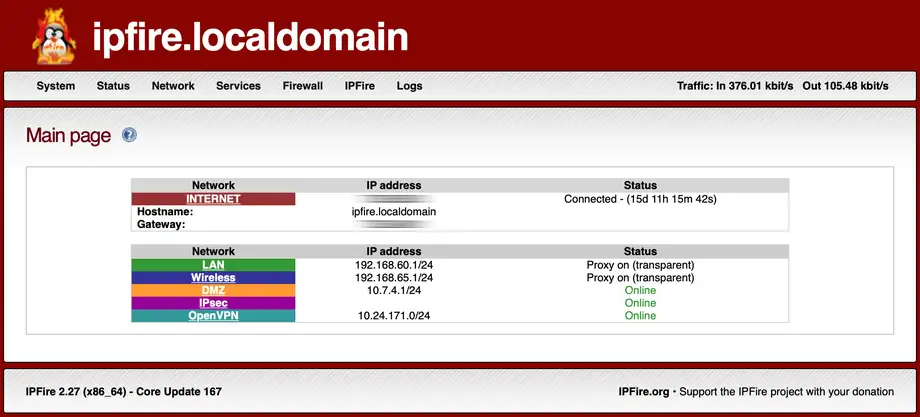
Login and Configure IPFire
Hook a pc up to the switch on the GREEN network and enter your IPFire’s IP address appended with port :444. For example, during my setup, I gave my IPFire the IP address of 192.168.1.1, so I would enter 192.168.1.1:400 into my web browser address bar.
There is a lot of extra services and plugins that can be configured and far too much for this guide. So instead, I will give links to some good resources for you.
Conclusion
I hope everything went smoothly for you and you have a ripper little IPFire firewall up and running to protect your network. If you did have any issues, hit me up in the comments or socials/email.
Comments
There are currently no comments on this article.
Comment