
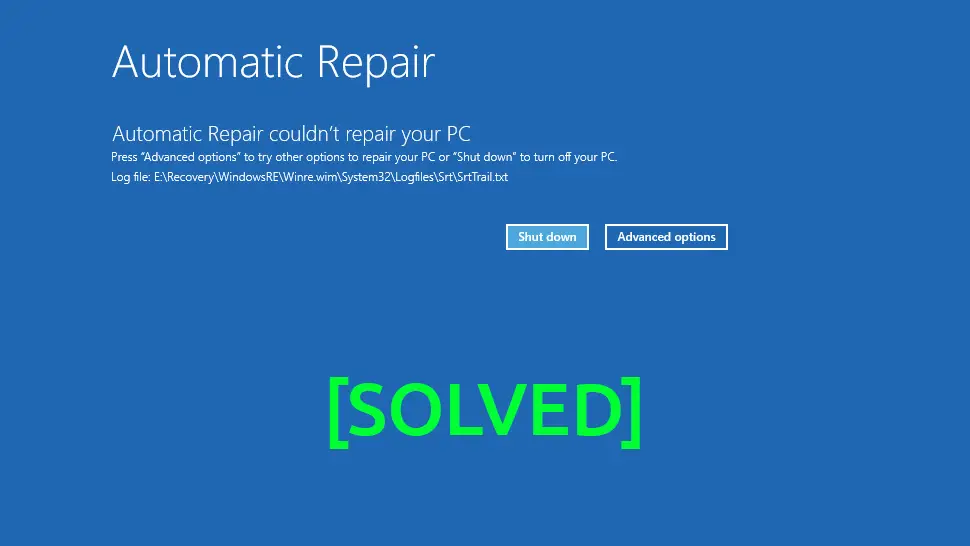
If you’re a Windows 10 user, you may have encountered the frustrating automatic repair loop that can prevent your computer from starting up properly. This issue can occur for a variety of reasons, such as a corrupted system file or a malfunctioning hardware component. However, there are several steps you can take to fix the automatic repair loop and get your computer back up and running. In this tutorial, we’ve provided a step-by-step guide on how to troubleshoot and fix the automatic repair loop in Windows 10.
Contents
- Recommended Books
- Step 1: Restart your computer a few times
- Step 2: Boot into Safe Mode
- Step 3: Use the Command Prompt to repair the Windows 10 installation
- Step 4: Use a Windows 10 installation media to repair your computer
- Step 5: Reinstall Windows 10
- Conclusion
- See Also
- Further Reading
Recommended Books
I can highly recommend these books to help you learn more about Windows 10.
- Windows 10 For Dummies
- Teach Yourself VISUALLY Windows 10
- The Windows Command Line Beginner’s Guide – Second Edition
Step 1: Restart your computer a few times
The first thing you should try is to restart your computer a few times in a row. This might help fix the problem automatically.
Step 2: Boot into Safe Mode
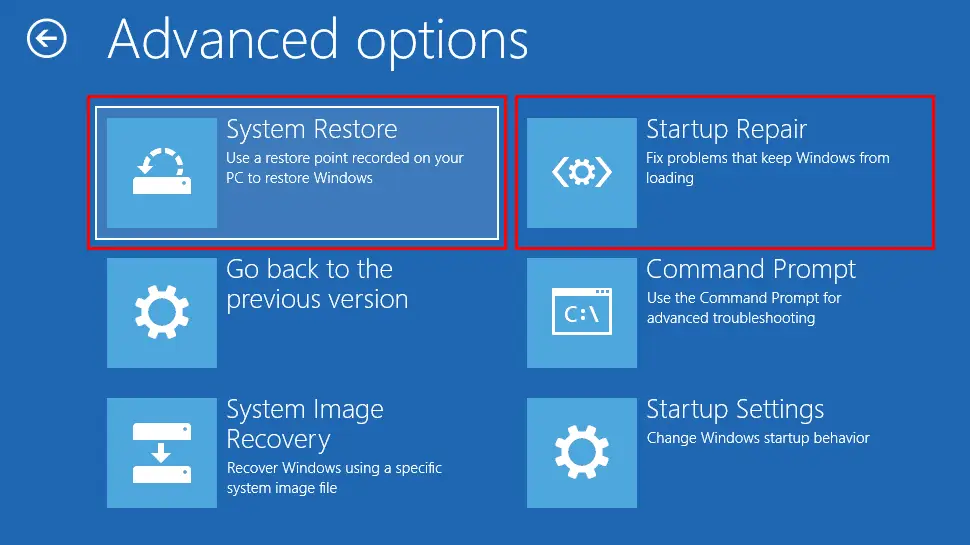
If the problem persists, try booting your computer into Safe Mode. To do this, press the F8 or Shift + F8 key during boot. Then, try to troubleshoot the problem using System Restore or Startup Repair.
Step 3: Use the Command Prompt to repair the Windows 10 installation
If booting into Safe Mode doesn’t work, you can try to repair the Windows 10 installation using the Command Prompt. Here’s how:
- Boot your computer into the Advanced Startup options by using a Windows 10 installation media or by repeatedly pressing the F11 key during boot.
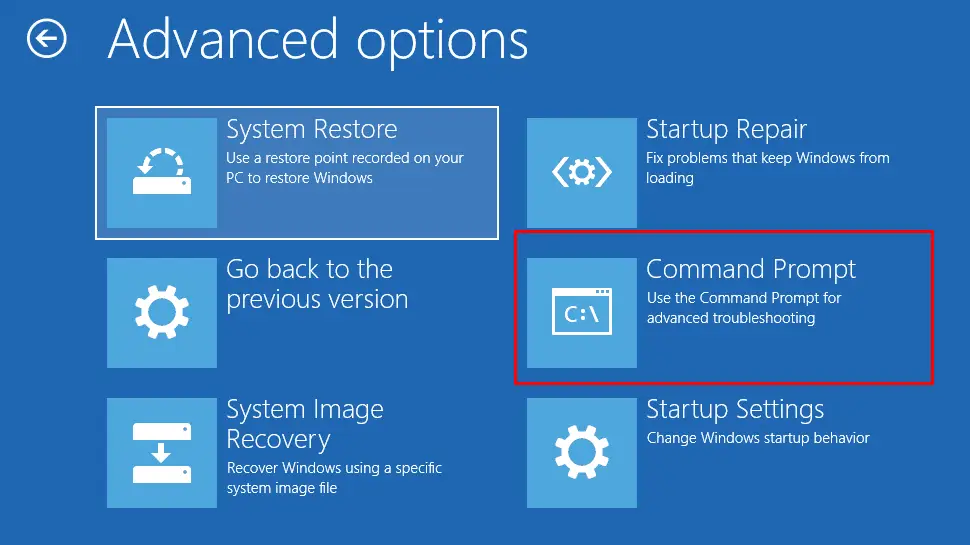
- From the Advanced Startup options, choose Troubleshoot -> Advanced options -> Command Prompt.
- In the Command Prompt window, type the following command and press Enter:
bootrec /rebuildbcd - Wait for the command to finish, and then type the following command and press Enter:
bootrec /fixmbr - Wait for the command to finish, and then type the following command and press Enter:
bootrec /fixboot" - Exit the Command Prompt window, and then restart your computer to see if the problem has been fixed.
Step 4: Use a Windows 10 installation media to repair your computer
If the above steps don’t work, you can use a Windows 10 installation media to repair your computer. Here’s how:
- Create a Windows 10 installation media by using the Media Creation Tool from Microsoft.
- Boot your computer from the Windows 10 installation media.
- Choose your language, and then click Next.
- Click Repair your computer.
- From the Advanced Startup options, choose Troubleshoot -> Advanced options -> Startup Repair.
- Wait for the repair process to finish, and then restart your computer to see if the problem has been fixed.
Step 5: Reinstall Windows 10
If none of the above steps work, you may need to reinstall Windows 10 to fix the problem. Make sure to backup any important data before attempting a reinstallation.
Conclusion
We hope this tutorial has been helpful in resolving the automatic repair loop issue on your Windows 10 computer. Remember to try the different troubleshooting steps in order, and don’t hesitate to seek help from a professional if the problem persists. By following these steps, you can get your computer back up and running in no time.
See Also
- Reset or Refresh Windows 10
- Fix Windows Errors with System File Checker
- Perform disk error check (chkdsk) on Windows 10
- Separate Windows System Files from Personal Data
Comments
There are currently no comments on this article.
Comment