
Windows 10 virtual desktops feature is a great way to manage your open applications and keep your workspace organized. With virtual desktops, you can have multiple desktops with different sets of applications, allowing you to switch between them seamlessly.
In this article, we’ll take a look at how to use the virtual desktops feature in Windows 10.
Contents
- Recommended Books
- How to create a virtual desktop
- How to switch between virtual desktops
- How to move applications between virtual desktops
- How to close a virtual desktop
- How to customize virtual desktop settings
- Conclusion
- See Also
- Further Reading
Recommended Books
I can highly recommend these books to help you learn more about Windows 10.
- Windows 10 For Dummies
- Teach Yourself VISUALLY Windows 10
- The Windows Command Line Beginner’s Guide – Second Edition
How to create a virtual desktop
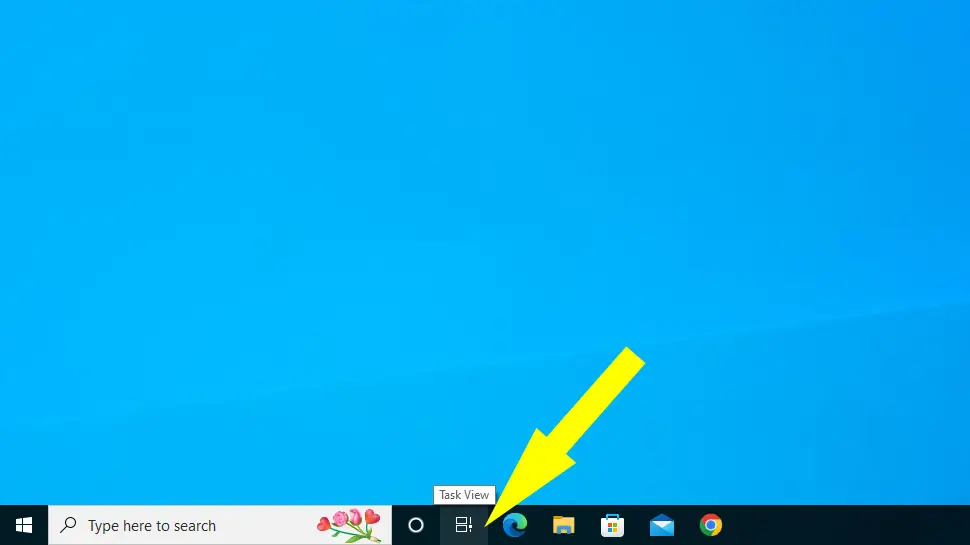
To create a new virtual desktop, click the Task View button on the taskbar. You can also use the keyboard shortcut Windows key + Tab.
Once you’re in Task View, click the New Desktop button in the top left corner of the screen.

How to switch between virtual desktops
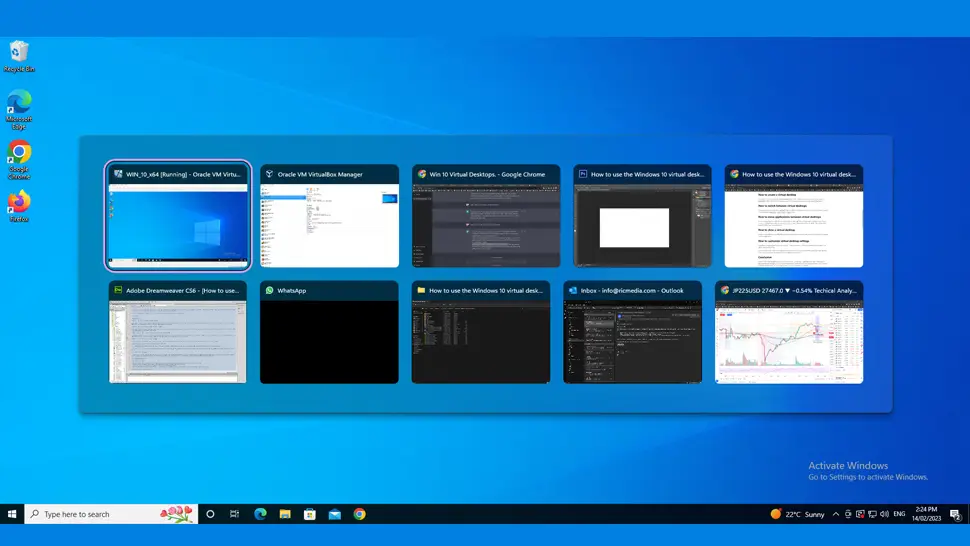
To switch between virtual desktops, open Task View and click on the desktop you want to switch to. You can also use the keyboard shortcut Windows key + Ctrl + Left or Right arrow.
How to move applications between virtual desktops
To move an application to a different virtual desktop, first, open Task View and then drag the application you want to move to the desired desktop. You can also right-click on the application in the taskbar and choose “Move to” and then select the desktop you want to move it to.
How to close a virtual desktop
To close a virtual desktop, open Task View, hover over the desktop you want to close, and click the X button that appears in the top right corner.
How to customize virtual desktop settings
To customize virtual desktop settings, open Settings -> System. From there, click on the Multitasking tab and you’ll see options for Virtual desktops.
You can choose to have Windows 10 remember the windows that were open on each desktop when you switch between them, and you can also set the number of virtual desktops you want to use.
Conclusion
Windows 10’s virtual desktops feature is a great way to keep your workspace organized and increase productivity. By following these simple steps, you can create multiple desktops, switch between them, move applications, and customize settings to fit your needs. Give it a try and see how it can help streamline your workflow.
See Also
- Change default email client on Windows 10
- Enable God Mode on Windows 10
- All About Windows 10
- Separate Windows System Files from Personal Data
Comments
There are currently no comments on this article.
Comment