

If you followed my guide on how to install a LAMP server on Ubuntu 22.04, this guide is the next logical step in creating a secure web server. The Apache Virtual Host environment enables a higher degree of security, flexibility and the ability to host multiple websites and sub-domains. Apache achieves this by using website directories under /var/www/, and configuration (.conf) files filled with directives. This makes managing multiple websites easier and more secure.
We will be using HTTP port 80 (non-secure) initially, so after you complete this guide, head over to my other guide How to install Let’s Encrypt SSL Certificate on Ubuntu 22.04 and Apache.
This article is part of my series The Ultimate Web Server.
Contents
- Prerequisites
- Creating a Virtual Host for your Website
- Creating a Test HTML Page
- Conclusion
- See Also
- Further Reading
Prerequisites
- A cloud server with an Ubuntu 22.04 LAMP stack. In my case I’m using DigitalOcean or there’s Vultr and DreamHost too
- A non-root user with
sudoprivileges (see my Initial Server Setup guide) - A registered domain name (Buy one for $0.99 cents from Namecheap)
- The following DNS records on your domain name (replace
ricbre.comand68.183.229.66with your own information):
| Type | Host | TTL | Record |
|---|---|---|---|
| A | ricbre.com | 300 | 68.183.229.66 |
| A | www.ricbre.com | 300 | 68.183.229.66 |
Throughout this guide I use two variables: the domain name ricbre.com and my cloud servers IP address 68.183.229.66. You need to replace any instance of this data with your own domain name and cloud server IP address.
Creating a Virtual Host for your Website
First, we create the website directory inside /var/www/:
sudo mkdir /var/www/ricbre.comThen we change ownership of the folder to your current system user (we’re using the $USER variable to reference the current user):
sudo chown -R $USER:$USER /var/www/ricbre.comNow we create a new Virtual Host file using nano to hold all the configuration data:
sudo nano /etc/apache2/sites-available/ricbre.com.confInside this new file, copy and paste the following configuration data replacing ricbre.com with your own domain name:
<VirtualHost *:80>
    ServerName ricbre.com
    ServerAlias www.ricbre.com
    ServerAdmin webmaster@localhost
    DocumentRoot /var/www/ricbre.com
    ErrorLog ${APACHE_LOG_DIR}/error.log
    CustomLog ${APACHE_LOG_DIR}/access.log combined
</VirtualHost>
Then save ctrl + o, ENTER and exit nano ctrl + x.
Next, we enable your new website:
sudo a2ensite ricbre.comThen we disable the default Apache site so it doesn’t override your new site:
sudo a2dissite 000-defaultLet’s confirm that your new website’s configuration is working (you should see the message syntax OK):
sudo apache2ctl configtest
To enable the changes we need to restart Apache:
sudo systemctl reload apache2Creating a Test HTML Page
Let’s create a new HTML document inside your websites root folder:
sudo nano /var/www/ricbre.com/index.htmlThen paste the following code inside the new document:
<html>
  <head>
    <title>Welcome to RicBre</title>
  </head>
  <body>
    <h1>Hello World!</h1>

    <p>Welcome to my new website <strong>ricbre.com</strong>.</p>
  </body>
</html>
Then save ctrl + o, ENTER and exit nano ctrl + x..
Open your web browser and enter your domain name address using HTTP (not HTTPS) otherwise you’ll get an err_connection_refused error:
http://www.ricbre.com/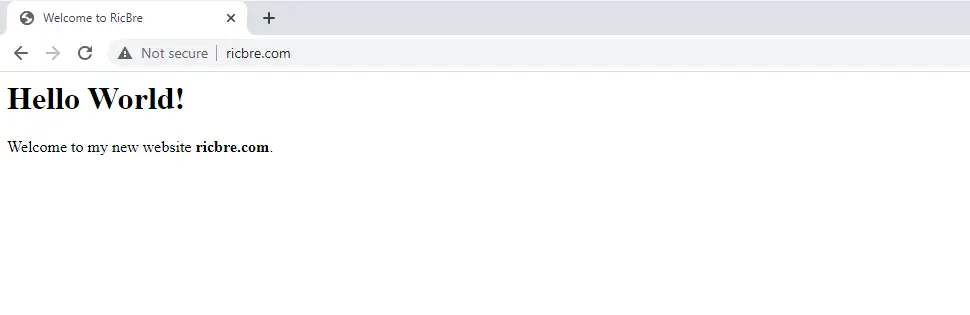
Conclusion
You now have a working web server capable of hosting multiple websites or sub-domains. You can now take the next step and install a free Let’s Encrypt SSL certificate.
See Also
- Initial server set up on Ubuntu 22.04 cloud instance
- How to install LAMP stack on Ubuntu 22.04
- How to install a free Let’s Encrypt SSL certificate on Ubuntu 22.04 LAMP stack
- How to enable HTTP/2 on Ubuntu 22.04 LAMP stack
- How to install phpMyAdmin on Ubuntu 22.04 LAMP stack
- How to secure an Ubuntu 22.04 LAMP Stack
- How to install WordPress on Ubuntu 22.04 LAMP stack
Comments
There are currently no comments on this article.
Comment